My Guide: 7 Big Mistakes to Avoid with Laminate Flooring
Based on my experience, laying laminate flooring can be a satisfying and rewarding project. But trust me, simple mistakes can end up costing you both time and money. So, I put together this guide to help you dodge the most common errors I’ve seen on the job — save yourself some headaches and get the install done right the first time.
1. Skipping Acclimatization — No.1 Error for Laminate Flooring Installation
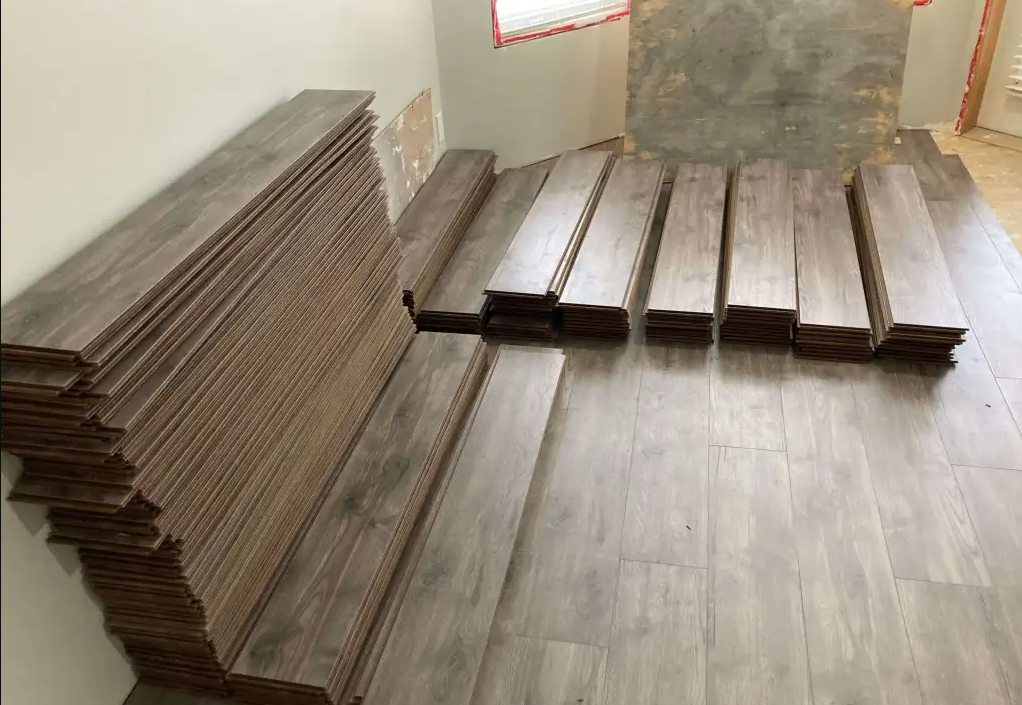
Here’s one we still see way too often: folks skip the acclimatization step. Big mistake.
Laminate flooring might look solid, but it’s not immune to changes in humidity and temperature. If you take the planks straight from the warehouse and slap them onto the subfloor—guess what? They’re gonna shift, expand, or leave ugly gaps once the room conditions kick in.
We always tell our partners: let your flooring sit in the room for at least 48 hours before installation. Keep the AC or heating running like normal. That way, the planks get used to the space before they’re locked down.
As a laminate flooring manufacturer, we’ve seen how skipping this step can mess up a whole job. One client had brand-new floors start gapping in under two weeks—all because they rushed the install on unacclimated boards. Cost them rework, refunds, and reputation.
And look, if your Flooring Supplier isn’t mentioning this? Might be time to rethink who you’re working with. A decent laminate flooring factory should always include acclimation steps in the install guide—especially for wood-look flooring going into commercial or high-humidity spaces.
Real talk: Whether you’re fitting out a retail space or a rental unit, take the time to let the planks adjust. It’s a small delay that saves a ton of headache later.
Need us to send our acclimation cheat sheet? We’ve got one we include with every bulk order—drop us a line.
2. Didn’t Prep the Subfloor — No.2 Laminate Flooring Installation Mistakes
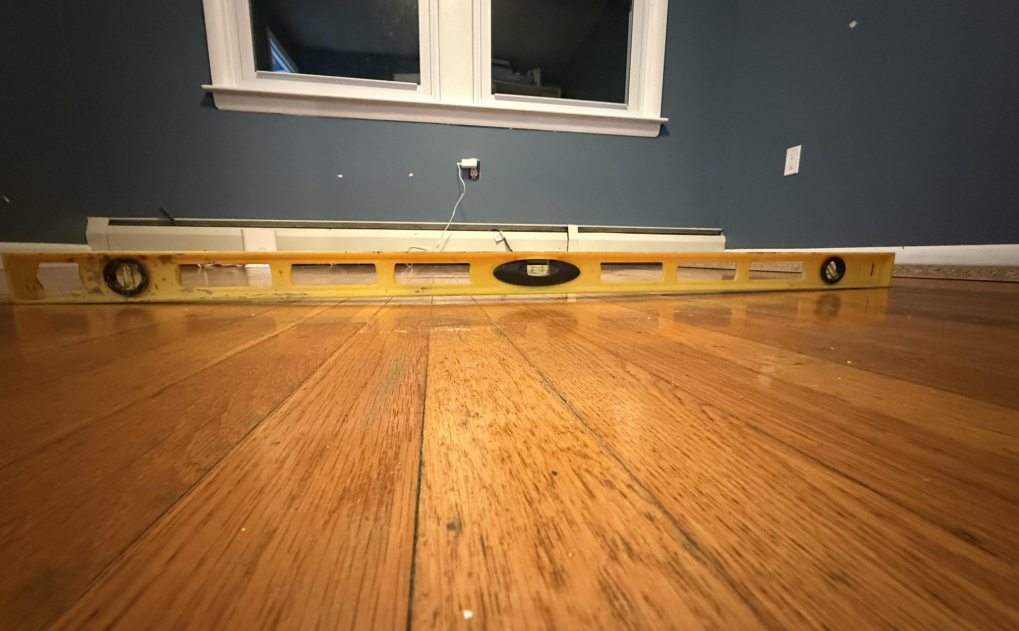
This is a big one. Honestly, subfloor prep makes or breaks a laminate flooring job. We’ve been on too many sites where folks rushed into installation without checking the basics underneath.
Here’s what we always tell our partners:
✔ Make sure the subfloor is clean, bone-dry, and flat.
✔ Moisture level? Needs to be under 14%—no guesswork, use a proper moisture meter.
✔ Any dips deeper than 3mm over a 2-meter span? Fill them.
✔ Got debris, old glue, stray nails? Get rid of it all. Those little things cause creaks, bounce, and worse.
We’ve seen what happens when this step gets skipped. Floors that click when you walk. Planks that lift or shift over time. That’s not just bad for the client—it’s bad for your name.
From where we stand as a laminate flooring supplier, we’ve always said: even the best boards can’t save a bad base. You wouldn’t build a house on a shaky foundation—same goes here.
Some folks go by this rule: the subfloor shouldn’t be more than 1/8 inch uneven over 6 feet. That’s solid. But if you’re working with lightweight engineered laminate or extra-long planks, being even stricter can save you problems down the line.
Quick Tip:
If you’re handling bulk orders or larger installs, prep your team with a checklist before every job. We’ve got one we share with our OEM clients—just ask.
3. Forgot the Expansion Gap — No.3 Wrong-take to Install Laminate Flooring 
You’d be surprised how often this one gets overlooked: no expansion gap.
Laminate might look solid like wood, but it needs room to move. If you don’t leave that 8–10mm (about 1/4 inch) space around the edges of the room, things can go bad real fast. The boards will push against the wall, and suddenly your floor is buckling, lifting, or even cracking in the middle.
We’ve seen it happen. One client laid down a full room without a single gap, and by the end of summer, the planks were bowed like a banana.
As a laminate flooring supplier, we always tell our clients: use spacers, check every wall, and don’t forget doorways. That little gap? It’s not optional—it’s insurance.
Got a wide room? Like anything over 8 meters across? You’ll want to break it up with an extra expansion joint, usually at a transition strip. That keeps things stable when the floor starts breathing with seasonal changes.
Also, a pro tip from us:
✔ Don’t nail your baseboard or trim through the laminate.
✔ Don’t install flooring under heavy cabinets or fixed furniture.
That floor needs the freedom to float. If it’s pinned down, it’s gonna fight back—and it always wins.
Quick Fix: Add expansion gap reminders to your install checklist. We bake this into our training for every bulk order client. It’s simple, but it protects your warranty and your name.
4. Installed the Underlay Incorrectly — No.4 Laminate Flooring Installation Mistakes
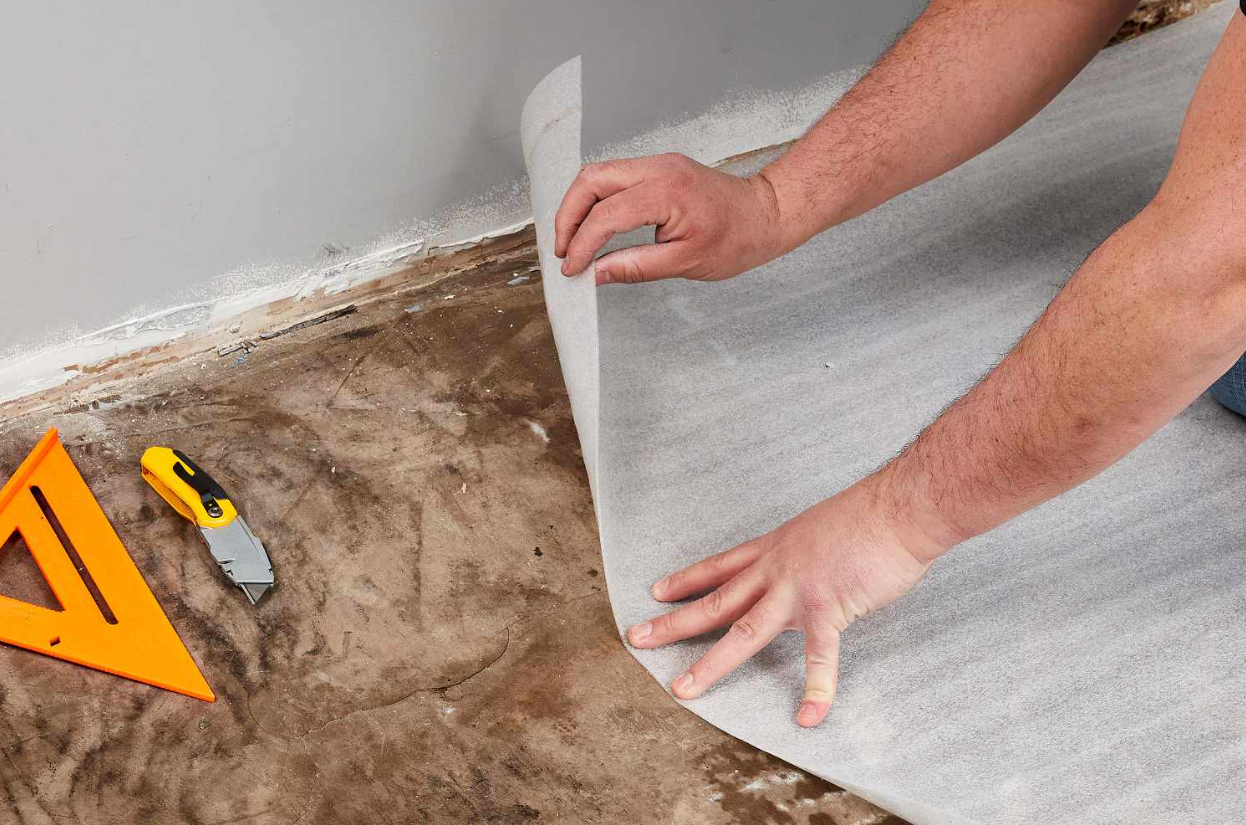
Think underlay doesn’t matter? Think again.
We’ve seen great laminate flooring jobs ruined just because someone rushed or skipped this step.
First off, lay the underlay flat. No wrinkles, no folds. Overlap the seams, tape them down tight. If you leave gaps or let it bunch up, you’re asking for trouble—moisture issues, uneven planks, annoying sounds when you walk.
We usually recommend going with something 1–3mm thick.
Too thick (like over 3mm)? The floor starts feeling like a trampoline.
Too thin (under 1mm)? No support, no cushion, and it won’t hold up.
As a laminate flooring supplier, we always advise our partners to match the underlay to the subfloor. And yeah—if you’re installing over concrete, don’t even think about skipping the moisture barrier. That extra layer is what stands between a clean install and a total disaster.
Also, don’t forget: a proper underlay reduces footstep noise, makes the floor feel softer underfoot, and helps with minor leveling. Cheap out here, and you’ll hear every step your client takes for the next 10 years.
We’ve got a few go-to underlay types we recommend based on project needs—acoustic, moisture-proof, or combo versions. Let us know your site specs and we’ll point you in the right direction.
5. Pinned or Forced the Floor — No.5 Misunderstanding about Laminate Flooring
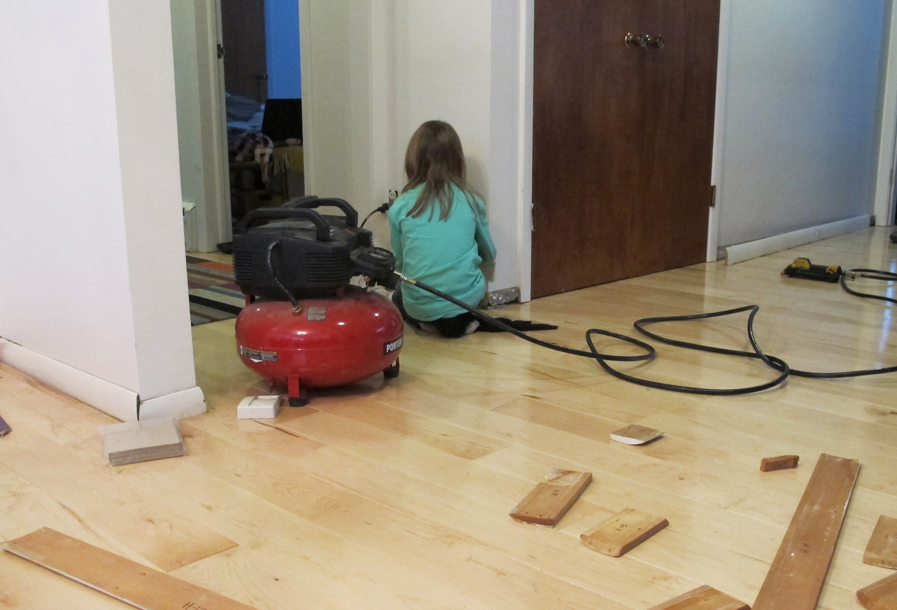
Here’s the deal: laminate floors are made to float. That means no nails, no glue-downs, and definitely no sandwiching them under fixed cabinets or kitchen islands.
We’ve seen installs where someone laid the whole floor first, then dropped in heavy built-ins right on top. A few months later? Buckled planks, stressed joints, and calls about “why is my floor lifting?” That’s not the kind of follow-up anyone wants.
Rule of thumb from us as a laminate flooring manufacturer: the floor needs freedom to move. Expansion and contraction happen with the seasons. If you lock it in place, it’s gonna fight back.
And while we’re at it—don’t force the planks together either.
Modern click systems are designed to snap together smoothly. No hammering. No over-tightening. When folks get rough—slamming planks in or pushing them too tight—it chips the edges and damages the locking groove.
You might not see it right away, but give it a few months. Those joints weaken, gaps open up, and the floor starts to shift or squeak.
Pro Tip: If you feel resistance while clicking planks in place, something’s probably off. Don’t muscle it—check your angle and alignment first.
6. Ignored Moisture Risks — No.6 Laminate Flooring Installation Mistakes
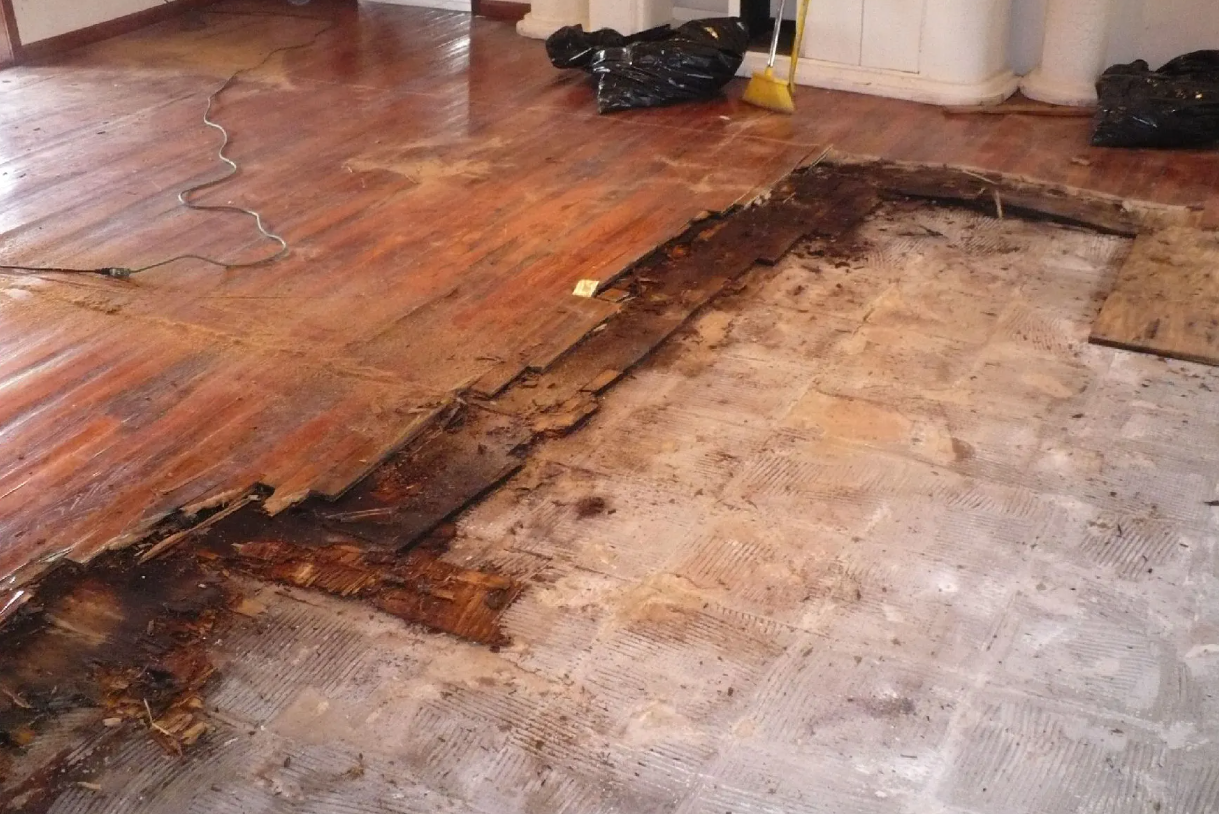
Let’s get real—laminate flooring and water don’t mix.
We’ve seen too many floors buckle, swell, or completely fall apart because someone ignored the moisture risk.
Here’s what we always tell our partners:
✔ Test the subfloor. Moisture content needs to be under 14% before you even think about laying a plank.
✔ Always use a moisture barrier underlay, especially over concrete.
✔ Fix any damp spots, cracks, or leaks before install day. Don’t gamble—it’s not worth it.
Even one missed puddle or a little humidity creeping in from underneath can destroy an entire floor in months. We’ve seen planks curl from pet bowls, entryway puddles, even steam from a dishwasher.
And please—don’t put standard laminate in kitchens, bathrooms, or laundry rooms unless the box says “waterproof.”
Even then, seal your joints. A thin bead of waterproof glue or silicone between planks adds protection, especially near water sources.
So what’s the smarter play?
That’s where Baier’s waterproof laminate flooring comes in. Unlike regular laminate, our planks are made to handle moisture. The core is engineered for minimal water absorption—swelling rates as low as 2%, even after hours of exposure. That’s well below the industry average.
We designed this line for high-humidity zones, rentals, kitchens—you name it. If your client needs peace of mind in a damp space, this is what you recommend.
Bottom line: Moisture is sneaky. Don’t let it ruin your install. Test, prep, seal—or go waterproof from the start. We’ve got the tech, and we’re happy to send samples or spec sheets if you’re sourcing for a moisture-prone project.
7. Bad Planning for the Layout — No.7 Laminate Flooring Installation Mistakes

Here’s one that sounds simple but trips up a lot of folks: not planning the plank layout right.
If you want your floor to look solid and last long, you gotta stagger those end joints. We recommend keeping them at least 12 inches (30cm) apart from the joints in the row next to it. That way, the floor has strength and stability—no weak spots that might crack or pop loose later.
Another pro tip: lay your planks parallel to the longest wall in the room. It just looks cleaner, flows better, and makes the space feel bigger.
Skip this step, and you might end up with a floor that looks all over the place — crooked seams, odd gaps, or worse, areas that feel unstable when you walk on them.
Quick reminder from us at Baier: Good planning upfront means fewer headaches later. Take a few extra minutes before you start, and your clients will thank you for it.
Quick Checklist: 7 Must-Dos for Flawless Laminate Flooring Installation
✔ Acclimate your flooring for 48–72 hours before installation to prevent warping and gaps.
✔ Test subfloor moisture, keep it below 14% to avoid swelling or damage.
✔ Prep your subfloor properly—clean, dry, and level with no dips deeper than 3mm over 2 meters.
✔ Always leave an 8–10mm expansion gap around the room and at doorways using spacers.
✔ Install the underlay flat, overlapping and taping seams to block moisture and reduce noise.
✔ Never pin the floor down or install under heavy fixed items—the floor needs to float and expand freely.
✔ Stagger plank ends by at least 12 inches (30cm) for a strong, stable, and good-looking layout.
Stick to these steps and you’ll avoid the most common laminate flooring installation headaches.
From what I’ve seen, ignoring these details can lead to costly repairs. You might even have to redo the entire floor. Taking your time and paying attention to these steps really helps.
Why Proper Installation Matters
Expert Opinion:
“I’ve worked in flooring for over 15 years. Based on my experience, I believe proper installation is the most important part of any project.
Most warranty claims I review are not because of product defects. They happen because of installation mistakes, which were preventable.
Statistics confirm this. The numbers show that over half of laminate failures come from installation errors. This is what I see myself on job sites.”
————Wu , Senior Technical Advisor at Baier Flooring Systems and Certified Flooring Inspector
Global data shows that over half of all laminate floor failures come down to installation mistakes. The usual suspects? Skipping expansion gaps, not letting the planks acclimate, and forgetting to properly seal joints.
I’ve seen these slip-ups cause floors to warp, bubble, or separate — often within just the first two years. And trust me, fixing those problems costs way more than doing it right the first time.
My advice? Always follow the manufacturer’s instructions and use the right materials. It’s the smartest way to save yourself from expensive repairs or even having to replace your brand-new floor altogether.
