Here’s How We Do Laminate Flooring Installation Right
We’re here to provide the laminate flooring installation guide as the installation engineers at Baier, and we’ve helped roll out thousands of square meters of laminate flooring — from high-traffic offices to cozy living rooms. Along the way, we’ve seen just about every mistake you can make (and fixed a lot of them, too).
That’s why we put together this no-nonsense, step-by-step installation guide. It’s the exact process we follow on-site, whether we’re doing a quick refresh or managing a large-scale flooring project. No guesswork. No shortcuts. Just the basics done right.
You’ll learn how to prep the subfloor, choose and lay the underlay, leave the right expansion gaps, and snap your planks together without a hitch. We’ll even show you how to finish things off like a pro.
Sound good? Let’s dive in — your perfect laminate floor starts here.
Step 1: What We Always Do Before Laying Laminate Flooring
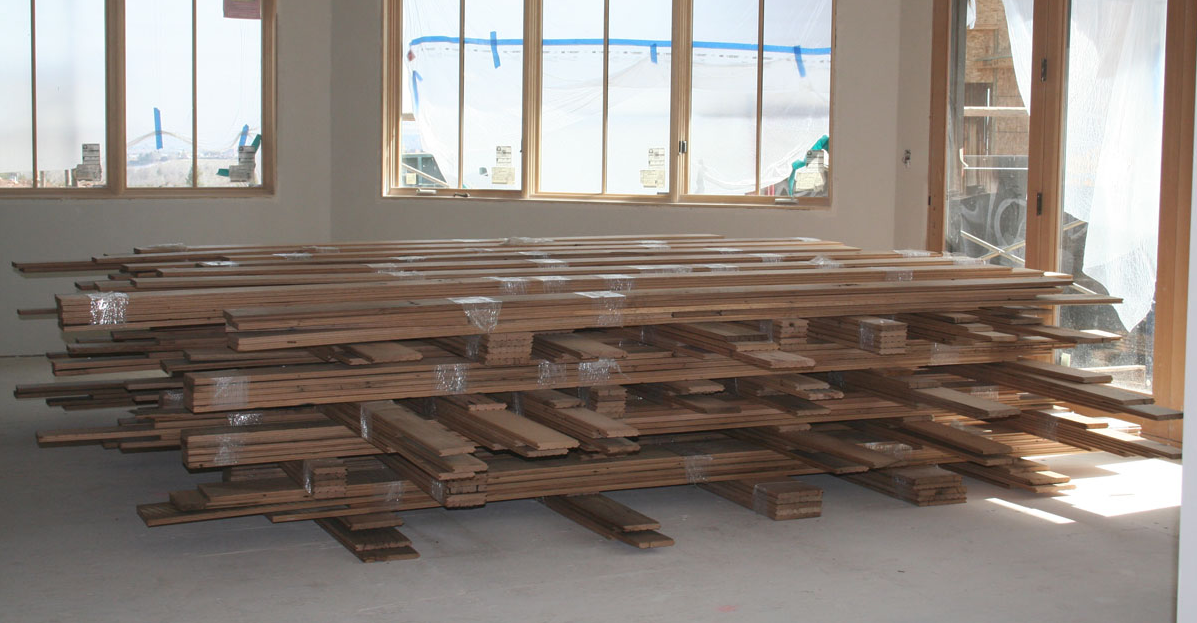
At Baier, as a top laminate flooring supplier and OEM manufacturer, we know a thing or two about what makes a bulk flooring job go smoothly. One step we never skip? Let the laminate planks acclimate before you lay them down.
No matter if you’re a contractor, flooring pro, or distributor, here’s our tip: leave those unopened boxes right in the room where the floor’s going for at least 48 hours. Let the boards get comfy with the temperature and humidity.
Keep the room cozy—around 18 to 24°C (64 to 75°F) and humidity between 45% and 65%. No crazy hot or cold swings.
Why bother? Laminate flooring reacts to moisture and temperature changes. If you throw down boards fresh from a chilly warehouse or hot truck, they’ll move around once inside—leading to gaps, warping, or buckling. And trust me, that’s a headache nobody wants.
For our OEM partners and bulk buyers, this simple step can save you tons of money on callbacks or replacements. At Baier, we’re all about making sure your flooring installs right the first time and lasts for years.
So, take that little pause, let the flooring settle in, and you’re one step closer to a perfect floor.
Check the Subfloor Conditions
| Requirement | Details |
|---|---|
| Clean |
|
| Level |
|
| Dry |
|
| Solid |
|
Plan Your Layout
Dry-fit a few rows without adhesive to visualize the layout.
Adjust the first row to avoid ending up with very narrow planks on either side.
If needed, trim the bottom of door frames so the planks can slide under smoothly.
Step 2: How We Properly Install the Underlayment
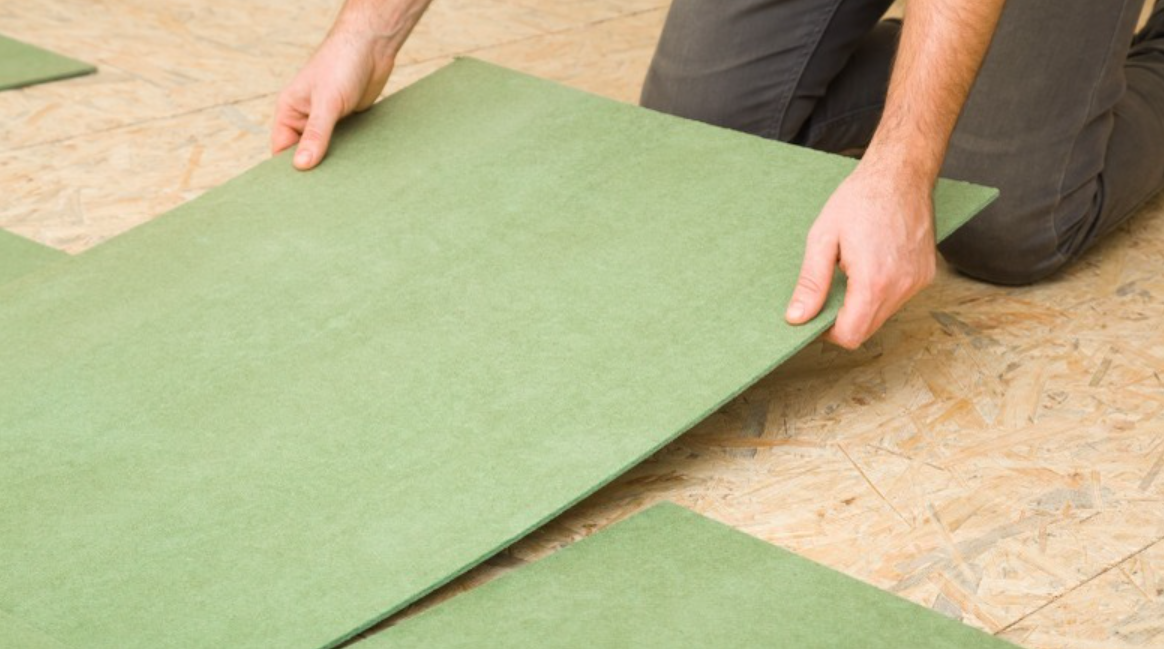
Choose the Right Underlay for Your Laminate Flooring
At Baier, as your laminate Flooring Supplier and OEM manufacturer, we always tell our partners: picking the right underlay is a game-changer for a smooth install and a floor that lasts.
Depending on your subfloor type, here’s what we usually recommend:
-
EPE or IXPE foam underlay — these are solid choices for cushioning and keeping moisture at bay.
-
Cork underlay — if you want something natural that also helps cut down noise and keeps the floor feeling cozy.
The right underlay doesn’t just protect your laminate—it makes the whole space feel better underfoot and quieter, which matters a lot whether it’s a home or a commercial spot.
If you’re ordering bulk laminate flooring from Baier, we’re happy to guide you on which underlay fits your project best.
Install It Right
At Baier, we always make sure the underlay is laid flat with no gaps or overlaps. Wrinkles or seams left open can cause moisture problems or make the floor uneven and noisy.
We overlap the edges slightly and tape them down to keep everything sealed. Usually, we use underlay between 1–3mm thick—too thick feels bouncy, too thin loses cushioning.
For our bulk laminate flooring and OEM clients, this step is key to a smooth, lasting install. Skipping it just isn’t worth the risk.
Tape all seams tightly using proper moisture barrier tape.
At the edges, let the underlay curl up 5–10mm against the wall for added moisture protection.
Step 3: How We Make Sure Expansion Gaps Are Perfect
Why Expansion Gaps Matter
Okay, so here’s the thing about laminate floors—they’re floating floors, which means they need some space to move around.
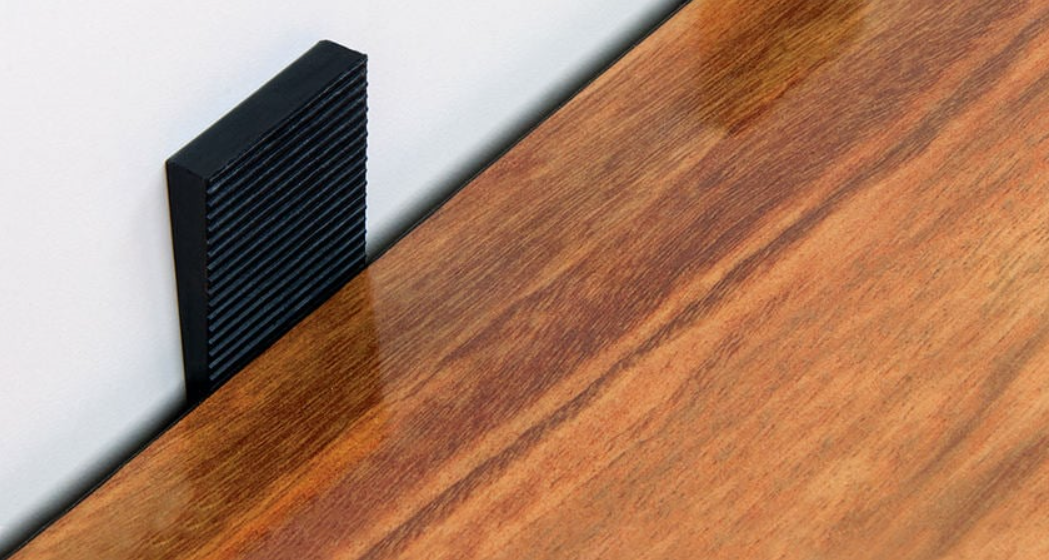
You’ve gotta leave an 8–10mm (about 1/4 inch) gap around the walls and doorways. This gives the floor room to breathe and expand.
We always recommend using those little plastic spacers to keep the gaps nice and even while you’re working.
And don’t worry—once you put the baseboards on, you won’t see those gaps at all.
If you’re doing a bulk laminate flooring install or handling an OEM Flooring project, trust me, leaving those gaps will save you a ton of hassle later, like warping or the floor buckling.
Step 4: Our Best Techniques for Installing Laminate Flooring
First Row: The Foundation of a Flawless Laminate Flooring Job
Alright, here’s how you get that first row in and make sure everything else goes smooth. Start by laying the first plank with the tongue side against the wall.
This is key to making sure the locking system clicks right. Then, grab a tool and trim off the tongue edge along the wall for a flush fit—this makes everything look clean, no gaps, no mess.
After that, just snap each plank into place with the locking system. It’s quick and easy, and before you know it, you’ve got a floor that’s solid, sturdy, and ready to last.
At Baier, we’ve got the expertise to make sure you’re set up for success, whether you’re doing a home or commercial job. Just follow the steps, and you’ll have a floor that looks pro and stays that way.
Next Rows: Keep It Strong and Tight
Next rows: Stagger the joints by at least 30cm (12 inches) between each row for that added strength and sleek look.
Start each new row with the offcut from the previous one—only if it’s long enough.
This not only helps you save material but also keeps that clean, seamless pattern going. Keep the momentum, and you’ll have a floor that’s solid, stylish, and built to last.
Clicking Technique:
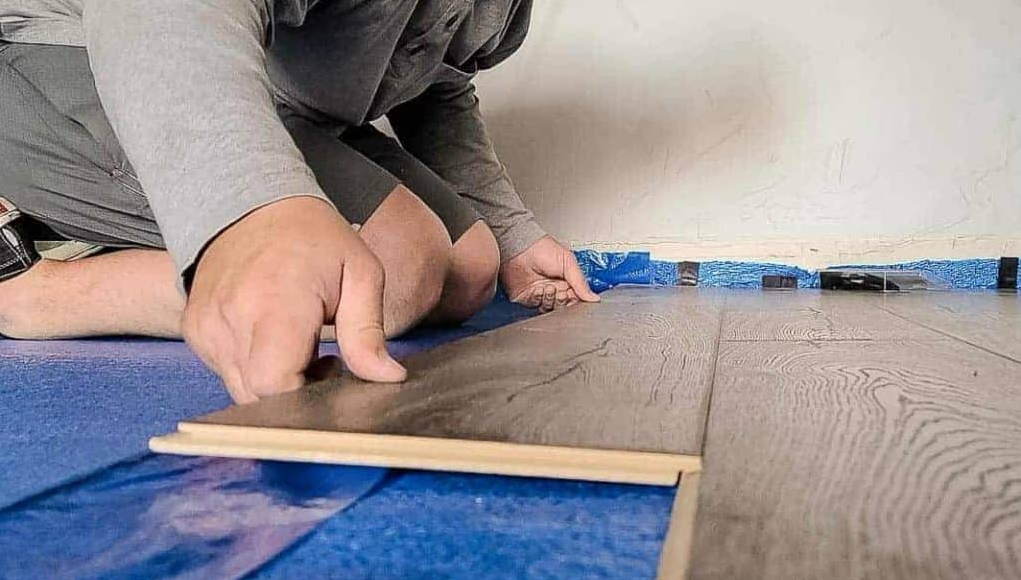
Align the short edge first and click it in.
Then press the long edge down until it locks with a “click”.
Use a tapping block and rubber mallet if needed for a tight seal.
Cutting the Planks
Measure twice, cut once with a tape measure and pencil.
Cutting tips:
Use a hand saw with the decorative side facing up.
Use a power saw with the decorative side facing down.
Always aim for clean, splinter-free cuts.
Final Row Handling
Measure and cut lengthwise to fit the final row.
Use a pull bar to lock the last planks tightly in place.
Don’t forget to maintain the expansion gap at the wall.
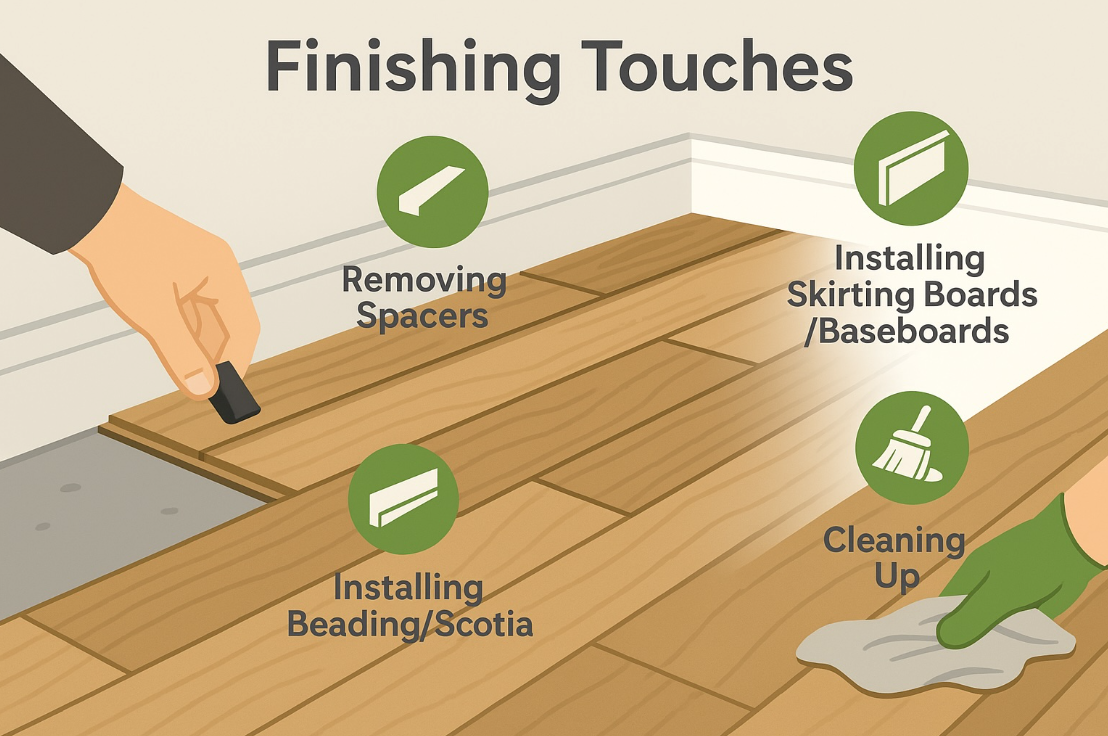
Step 5: How We Perfect the Finishing Touches
Remove All Spacers
Carefully take out the spacers—don’t chip the edges of the floor.
Install the Baseboards
The baseboard should cover the expansion gap completely.
Nail it to the wall, not to the floor, so the flooring can still expand and float freely.
Special Treatment for Wet Areas
For areas near kitchens or bathrooms:
Insert foam backer rod into the expansion gap.
Apply moisture-resistant sealant like Aqua Sealant.
Optional: Add a clear waterproof strip under the baseboard for extra protection.
Install Floor Accessories
Transition strips between laminate and other floor types.
Pipe covers around heating pipes.
Door thresholds for clean transitions at entrances.
Pro Tips and Key Rules to Remember
Floating Floor Rules
No glue or nails — laminate flooring must be installed as a floating floor.
Don’t fix it to the subfloor, or it will buckle.
Installation Habits That Help
Work while standing or kneeling on the installed flooring to prevent movement.
Mix planks from multiple boxes to blend natural color variations.
Follow the Manufacturer’s Guide
My final advice: always follow the official laminate flooring installation guide provided by the manufacturer. It ensures quality—and keeps your warranty valid.
Quick-Step Checklist for Laminate Flooring Installation
✅ Acclimate for 48 hours — keep boxes in the room before installation.
✅ Prepare subfloor — clean, dry, flat, and strong.
✅ Lay underlay properly — no gaps, tape seams, and raise edges.
✅ Leave expansion gaps — 8–10mm around all edges.
✅ Start smart — trim the first plank’s tongue side, tongue faces wall.
✅ Stagger seams — offset joints by at least 30cm.
✅ Cut with care — decorative side up or down depending on saw.
✅ Tight final row — rip to size and lock in with pull bar.
✅ Professional finish — spacers out, baseboards in, seal moist zones.
Nail It: Your Go-To Guide for a Flawless Laminate Floor Installation
Expert Opinion:
“From my experience with thousands of laminate installations, I can show you what separates amateur work from a professional job. The difference is following the systematic approach I’ve laid out here. The main point isn’t just to follow steps. You need to understand why each one matters.
I have seen contractors who skip acclimation or rush the subfloor prep. They end up with callbacks about failed floors within months. In my experience, when you use the correct technique from the start, these floors last for decades without issues.
These methods are more than just good ideas. They are the foundation of every installation we back with a warranty.”
———— Jack , Senior Installation Engineer at Baier Flooring with 15+ years in commercial laminate flooring systems
Follow this process, and I’m sure you’ll get great laminate flooring results—no matter if you’re new or experienced. Each step makes the job simpler, quicker, and more dependable.
Using the right method builds a strong floor base that will last for many years. Your floor will look amazing with neat, offset joints and tight seams—just like display models.
These steps work for both home projects and big business spaces. They help create a floor that lasts and looks professional.
I’ve seen countless installations at Baier. I know these methods work. Just follow each step, and you’ll have a floor that stands the test of time and wows everyone who sees it.

