The Reason to Square a Room Before Installing Laminate Flooring
Squaring a room before laying laminate is a critical step. It helps the floor look good and last for years. I will explain why you should never skip this.
Get a Straight, Pro Look: If you don’t square the room, your flooring might follow crooked walls. This can make the rows look slanted. It’s a big problem where planks meet a wall or a doorway. I find that even small gaps or angled boards make the whole job look unprofessional.
Prevent Rows from Shifting: If your first row isn’t straight, every row you add after it will get more crooked. You’ll start to see gaps between the planks. You might also end up with thin, strange-looking slivers of wood at the edges. I find these are very hard to install well.
Less Custom Cutting: I recommend squaring the room right from the start. This means you won’t have to make as many tricky, custom cuts along the walls. This is a key step in older houses, where I often find the walls aren’t straight.
Better Fit for Trim: A square floor makes it simple to install your baseboards, quarter round, and thresholds. Everything will fit flat and look great. If the floor is crooked, the molding won’t sit right and will look messy.
Tools and Materials for Squaring a Room and Installing Laminate Flooring
If you want your laminate floor to look professional, I suggest getting all your tools and materials ready before you start squaring the room. From my experience, having the right gear makes the job faster and more accurate.
Essential Tools for Measuring and Squaring
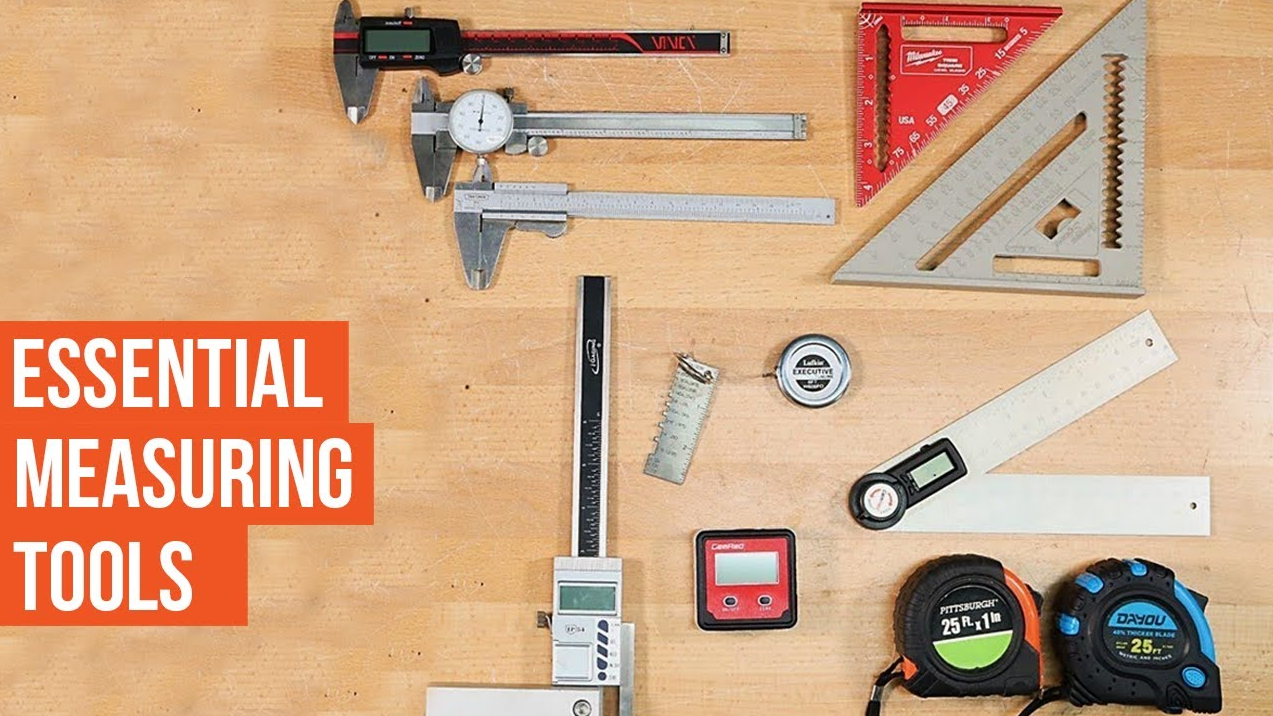
Measuring tape: I use this first to get the room’s exact size and square footage. This helps me know how much flooring to buy and where to cut.
Framing square, speed square, and contour gauge: These help you confirm that your corners are true 90-degree angles. They also let you transfer the shape of an odd wall onto a plank for a precise cut.
Marking tools: A carpenter’s pencil, markers, and a chalk line are vital. I use them to make clear, easy-to-see lines for measurements and cuts.
Installation Equipment for Great Results
Level: Use a level to make sure the subfloor and the planks you install are both flat. This is a big factor in how long your floor will last and how good it looks.
Flooring installation kit: A standard kit includes a tapping block, a pull bar, and extra spacers. I use these to keep plank seams tight and prevent damage as I work.
Spacers for the walls: These are important for keeping the right expansion gap between the flooring and the walls. This prevents problems if the floor shifts because of humidity.
Cutting and Preparation Tools
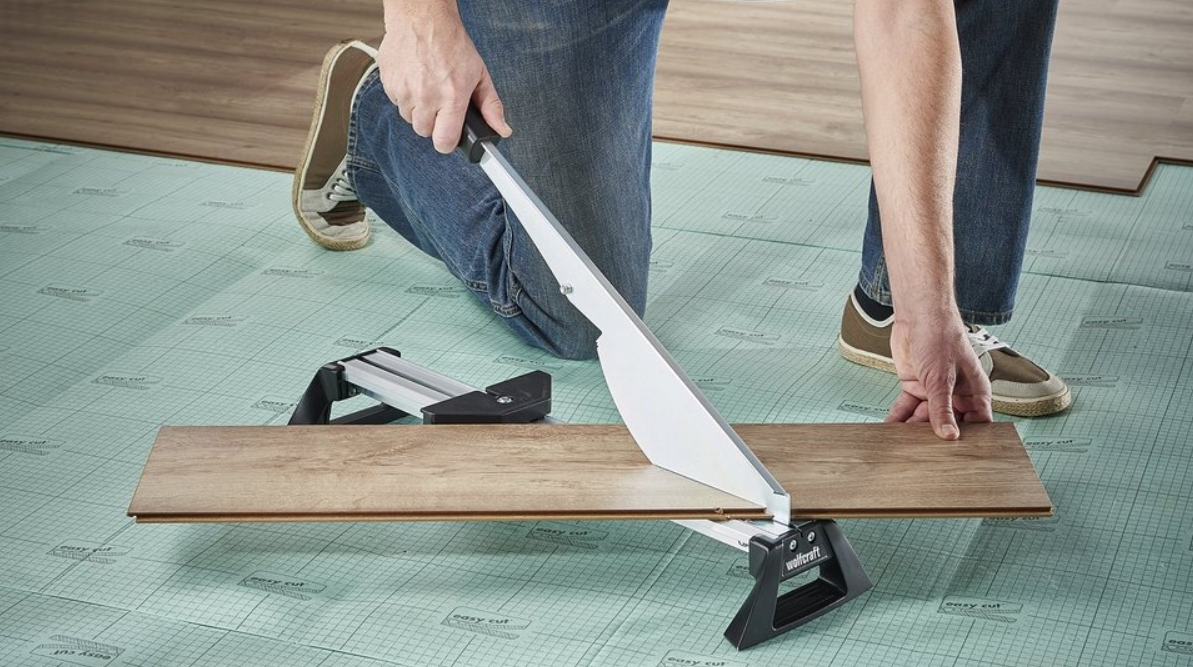
Saws: You’ll need a laminate cutter, table saw, chop saw, miter saw, or jig saw to cut planks. These help you cut them to the right size and fit them around things. I find that most pros use a few different saws for different kinds of cuts.
Pry bar and hammer: These are handy for taking off old baseboards or pulling out stubborn nails. I find them very useful in older homes.
Underlayment and Moisture Protection
Premium grade underlayment: I recommend getting a good quality underlayment. It cuts down on noise, provides some cushion, and helps the floor last longer.
Vapor barrier: You will need this if you are installing the floor over concrete to keep moisture out.
Duct tape: Use this to tape down the seams of the underlayment and the edges of the vapor barrier.
Moisture meter: Checking the subfloor’s moisture level with a meter is a smart first step. This one check can help you avoid major problems down the road.
Safety and Comfort Gear
Knee pads: These will prevent a lot of discomfort and keep your knees safe. You will be kneeling for a long time.
Safety equipment: Always have gloves, safety glasses, and a dust mask or respirator. They protect you from sharp edges, flying bits, and wood dust.
Full Tools and Materials Checklist
| Tool / Material | Description / Purpose |
|---|---|
| Measuring tape | Measuring distances and ensuring accurate cuts |
| Level | Ensuring surfaces are even and properly aligned |
| Spacers | Maintaining expansion gaps between flooring and walls |
| Tapping block and pull bar | Helping to fit flooring planks tightly together |
| Selection of saws (laminate cutter, jig saw, miter saw) | Cutting laminate to fit around obstacles and edges |
| Premium underlayment and vapor barrier (for concrete) | Providing cushioning, insulation, and moisture protection |
| Chalk line, carpenter’s pencil, marker | Marking straight lines and measurements on materials |
| Framing square, speed square, contour gauge | Ensuring right angles and measuring complex contours |
| Pry bar and hammer | Removing baseboards or adjusting fit during installation |
| Moisture meter | Checking moisture levels, especially on concrete subfloors |
| Duct tape | Securing underlayment or temporary fixes during installation |
| Wood glue | Securing joints in certain installation types |
| Vacuum or broom | Cleaning subfloors before and during install |
| Knee pads | Providing comfort and protection for knees |
| Gloves, safety glasses, and a dust mask or respirator | Ensuring safety during cutting and installation |
| Felt furniture pads | Protecting flooring from scratches after installation |
Step-by-Step: How to Square a Room for Laminate Flooring
1. Measure the Room for Squareness
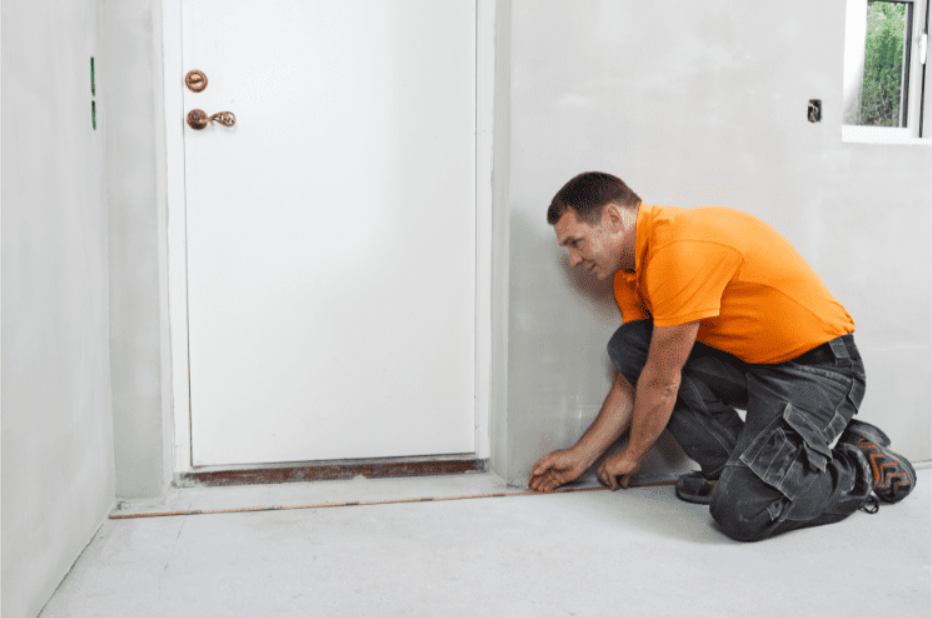
Using a tape measure for every wall, not just two of them. Write down your measurements. In a truly square room, opposite walls will have identical lengths, and all corners will be 90-degree angles.
Find the longest wall in the room. I use this as my main reference line to start the project.
Example Wall Measurements Table
| Wall | Measured Length |
|---|---|
| Baseline Wall | 12′ 0″ |
| Opposite Wall | 12′ 1/4″ |
| Adjacent Wall 1 | 10′ 0″ |
| Adjacent Wall 2 | 10′ 0″ |
Note: Even a 1/4″ difference means you’ll need to adjust the layout for a straight floor.
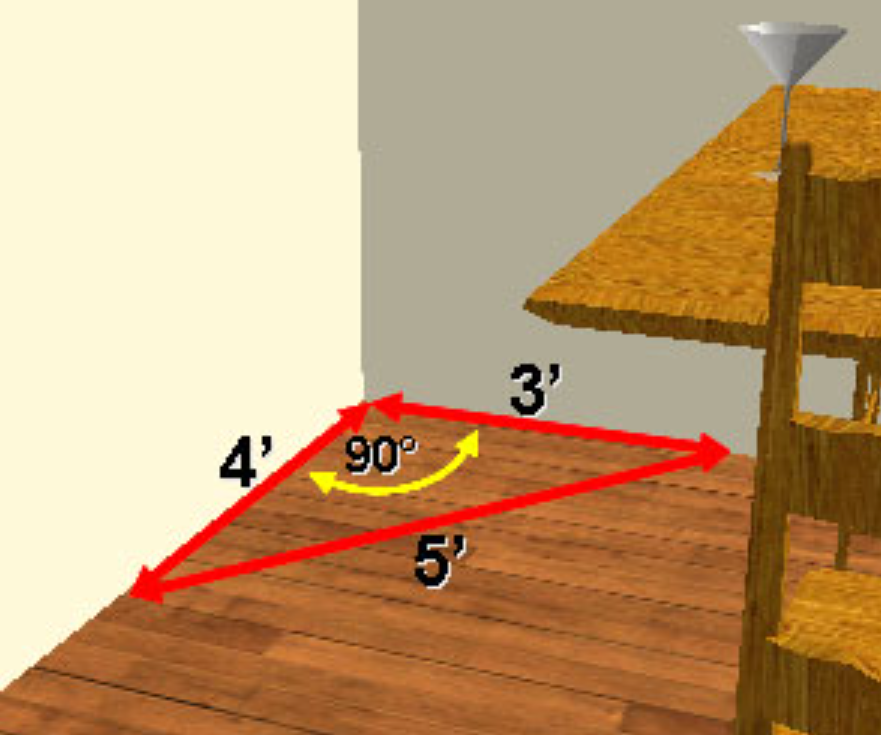
2. Use the 3-4-5 Method to Check for Square Corners
On your main reference wall, pick a starting point. From that spot, I do the following:
Measure and mark 3 feet down the reference wall.
Return to your starting point and measure 4 feet along the wall next to it.
Now, check the diagonal distance between those two marks. It needs to be 5 feet on the dot. This confirms you have a true 90-degree corner.
If your diagonal measurement isn’t 5 feet, adjust your marks until it is. This step makes sure your layout is square from the start.
Once the angle is correct, use a chalk line to snap a straight starting line on the floor. You’ll use this line to guide your first row of laminate.
3. Adjust for Irregular or Uneven Rooms
IF your measurements show the room is out of square by more than 1/4″, you will need to custom-cut some planks to fit.
I suggest starting your installation from the straightest wall. This makes any gaps less noticeable and gives the floor a cleaner, professional look.
4. Final Check Before You Lay Planks
I always check my measurements and angles again. Any mistake at this stage will be obvious in the final floor.
Use a carpenter’s square and a pencil to make any extra reference marks you need.
5. Tools You’ll Need for Squaring a Room
Tape measure
Chalk line
Carpenter’s square
Spacers (to maintain proper expansion gaps)
Sharp pencil or marker for clear marks
My Pro Tip: Taking the time to double-check, starting from the straightest wall, and using the 3-4-5 trick will save you a lot of headaches later. It’s the key to a floor that looks great and has no gaps.
How to Handle Out-of-Square Rooms When Installing
Most rooms are not perfectly square, particularly in older homes. I want to share how I handle these jobs to make sure your new floor looks fantastic.
1. Start with a Square Reference Line
I recommend choosing the longest or most visible wall as your starting point. This is often the wall you see when you first walk in.
Use this wall to snap a chalk line. This line is your main guide. It helps you hide any uneven spots in areas people won’t see.
2. Measure the Wall Differences
You need to measure from your reference wall to the opposite wall. Do this at both ends and in the middle.
Write down any differences you find. For example, you might have a 1/2-inch gap at a doorway and a 1/4-inch gap somewhere else. This tells you where to make your adjustments.
3. Dry-Lay Planks to Check the Layout
I always lay out the first few rows of planks without clicking them together. Just place them along your chalk line.
This gives you a sneak peek. You can see any gaps, odd angles, or crooked lines before you make any cuts. It’s your chance to plan your adjustments.
4. Plan Your Cuts and Plank Placement
When you have big differences, you’ll need to make some angled cuts. I suggest cutting the first or last row of planks at an angle to match the wall.
For instance, if you find a 1/2-inch difference at a doorway, you can cut that row on a taper. This spreads the difference along a wall people won’t notice as much.
If you have uneven corners or doorways, measure both ends of the plank. Then, cut each side to fit. You might trim one side to 1/2 inch and the other to 1/4 inch to match the crooked wall.
5. Maintain Expansion Gaps
You must keep a 1/4-inch expansion gap on all sides. This is true even if the walls are wavy.
I use spacers for this. They stop you from pushing the boards too tight against an uneven wall.
6. Use Strips and Undercutting for a Clean Look
I find transition strips very helpful. Use them where you join rooms with different floor heights. A threshold can also hide small floor gaps.
If you have a big height difference, like a 1 1/2″ change from a room conversion, you may need a double transition piece.
When you get to door jambs or trim, I cut underneath them. This lets the flooring slide under for a clean look. Make sure you still leave an expansion gap.
7. Hide Flaws in Less Seen Areas
I suggest starting your installation on the straightest or most visible wall.
This pushes any custom cuts to the other side of the room. The main view will look straight and square.
I plan my cuts so the angled pieces end up along walls that will be hidden by furniture.
8. Adjust as You Go
Laminate is a “floating floor,” which means it can move a little as you install it.
I am always checking my alignment as I work. You have to make small fixes to handle any shifts or new gaps.
Summary:
Squaring the room before laying laminate is a must. It helps your floor look straight and professional, avoids gaps, and makes installation easier. Most rooms aren’t perfectly square, so you’ll need to measure carefully and adjust cuts to fit. Using tools like a tape measure, chalk line, and spacers keeps everything on point. Take your time checking as you go, and you’ll end up with a clean, long-lasting floor—even in tricky spaces.If you’re still deciding which flooring to install, here’s my full guide on the best laminate options for high-traffic homes and offices.


