When Is the Best Time to Begin A New Construction Flooring Installation?
You should install the floors after the messy construction work is done, and you should do this before putting in the final fixtures, cabinets, and trim. This method keeps your new floors safe from dirt and damage. It also makes the installation process much smoother for the crew.
Always install flooring after the major construction is done—framing, drywall, painting, plumbing, and wiring. This avoids damage from dust, paint, or heavy tools. Protect your investment by making sure all inspections are complete before flooring begins.
Phase 1: The Best Time for Flooring Installation in New Construction
Picking the right time to install floors in a new build is very important. It affects how your floors will look and how long they will last. I’ve put together some key tips and things you need to think about:
Protecting Your Investment: My Recommendations on Timing
Installing the flooring after the messy work is finished. This means that after framing, plumbing, electrical, painting, and ceiling work are all done.
The floors should go in just before the final trim, cabinets, and fixtures. This approach protects your new floors from dirt, paint, and damage from workers walking on them.
Making flooring one of the last jobs inside. It’s best to give your installers their time slot. Don’t have other workers there at the same time. This helps avoid accidents and lets them do a careful job.
For a big project, like a 40-week commercial build, we install flooring near the end, around weeks 38 to 40. This happens after the walls pass inspection and before we put in the final fixtures.
Environment and Materials:
Start only after the slab or foundation is fully cured—give it at least 28 days. More time if it’s humid. Moisture-sensitive floors like hardwood need that.
Subfloors must be dry and flat. I always check the moisture. For wood, keep it under 14%. For concrete, emissions shouldn’t go over 3 lbs per 1,000 sq. ft. in 24 hours. Follow the warranty rules—it’s not worth skipping.
Keep the room climate stable. Run the heating or AC ahead of time. I aim for 60–80°F and 35–55% humidity. Spring and fall are my go-to seasons—less humidity swing, fewer issues. And always let the flooring sit in the room for a few days before installation so it adjusts properly.
Risks of Poor Timing
If you rush the install or start too early, it can cost you—easily 1–3% of the total project just in fixes. Skip prep or cut corners, and you risk voiding the warranty. Worse, you might get floors that warp, shift, or stay uneven long-term. Not worth it.
Quick Reference: My Suggested Installation Order
Finish heavy construction, plumbing, and drywall.
Complete all painting and ceiling finishes.
Get the HVAC running to stabilize the climate.
Check the subfloor for moisture and make sure it’s level.
Install the flooring in its own scheduled time.
Install cabinets, trim, and fixtures last.
In my experience, following these steps will make sure your new floors look fantastic and perform well. It also helps you stay on budget because you avoid damage and delays you could have prevented.
Phase 2: All Work to Complete AFTER Flooring Installation
Once your new floor is in, what you do next is really important. These next steps protect your investment and make sure the floor lasts a long time. Here’s what I recommend you do:
Essential Post-Flooring Activities
Post-Installation Cleaning and Inspection:
Your crew needs to remove all dust, debris, and extra materials. A good cleanup is key for safety. It also helps you spot any problems with the installation. I suggest doing a final walkthrough. Check that the transitions, seams, and other finishing touches look good. In a business setting, I’d double-check all the trim work. Make sure baseboards, transition strips, and thresholds are secure. You don’t want any trip hazards or flaws.
Distribute Care and Maintenance Guidelines:
After the cleanup, give the property owner the care instructions. I think it’s best to provide a detailed guide. It should explain which cleaning products are safe for the floor. Also, include how often to clean and any good maintenance tips. For floors like hardwood or luxury vinyl, you must follow the manufacturer’s guide. Using the wrong products can void your warranty or even ruin the floor.
Remaining Construction and Final Touches
Install Permanent Fixtures and Furniture:
After you’ve inspected and cleaned the floors, it’s time to move in furniture and other fixtures. I recommend waiting until the flooring has completely cured. This simple step helps prevent dents and scratches.
Wall, Trim, and Door Touch-Ups:
You’ll likely see a few minor scuffs from the floor installation. Now is a good time to schedule any final painting or trim touch-ups.
Post-Installation Support and Warranty Protection
Register Warranty and Arrange Support: Many flooring brands offer support after the job is done. This might include maintenance packages or advice for future repairs. I always advise my clients to register their warranties right away. Following the care guide is the best way to protect your investment.
Risks of Installing Flooring Too Early in New Construction
Installing flooring too soon in a new build looks like a time-saver. But it’s a huge gamble. It can wreck your budget, create safety issues, and ruin the long-term performance of the floors themselves.
Major Risks and Expensive Problems
Moisture-Related Failures:

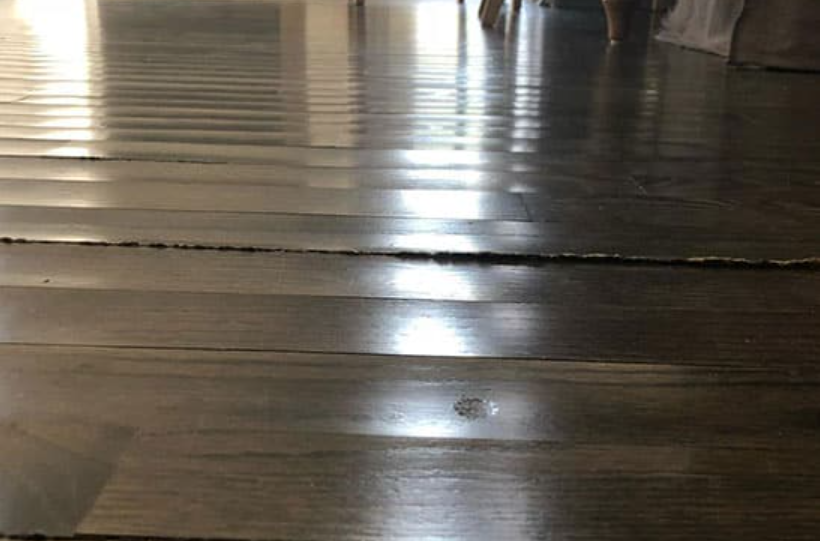
Moisture is the biggest enemy of new floors. It causes about 85% of all installation failures. If you lay floors over a damp subfloor, the adhesive will fail. You’ll see warping, delamination, bubbling, and curling. Mold and mildew can start growing. Plus, your flooring warranty will likely be voided if moisture levels are too high during the installation.
Subfloor and Surface Defects:
I’ve seen it happen time and again. Installing on a subfloor that hasn’t cured, has cracks, or is uneven guarantees problems. You’ll get buckling, early wear, and warped boards. When you rush, it’s easy to miss hidden problems. You might also skip essential steps like putting down a vapor barrier or using a leveling compound. Proper subfloor preparation is essential to ensure a smooth commercial flooring installation.
Project Delays and Added Costs:
When flooring goes in too soon, other workers often damage it. This leads to expensive repairs, messy rework, and conflicts in the schedule. If you find moisture issues after the floor is down, you often have to rip it all out. That fixes the main problem but adds 1–3% to your project costs and destroys your timeline.
Wall Base and Trim Issues:
If you install floors before finishing the wall base or trim, you can get gaps and poor adhesion. This ruins the look of your floors. It also affects how the trim fits, which means more labor and possible redos.
Increased Safety Hazards:
Flooring installation is tough physical work. Rushed installations increase the risk of accidents and injuries. If you have to reinstall or patch the floor later, your crew faces more risks from lifting and awkward postures. I believe smart scheduling helps prevent these safety hazards.
How Timing Changes for Different Flooring Materials
The right time to install your floor depends on the material you pick. Acclimation guidelines may vary by flooring type—check requirements for your commercial flooring materials. Every material has a specific timeline for a new construction project. I’ll explain how the timing changes for each type and share some key numbers with you.
Hardwood Flooring Installation Timing

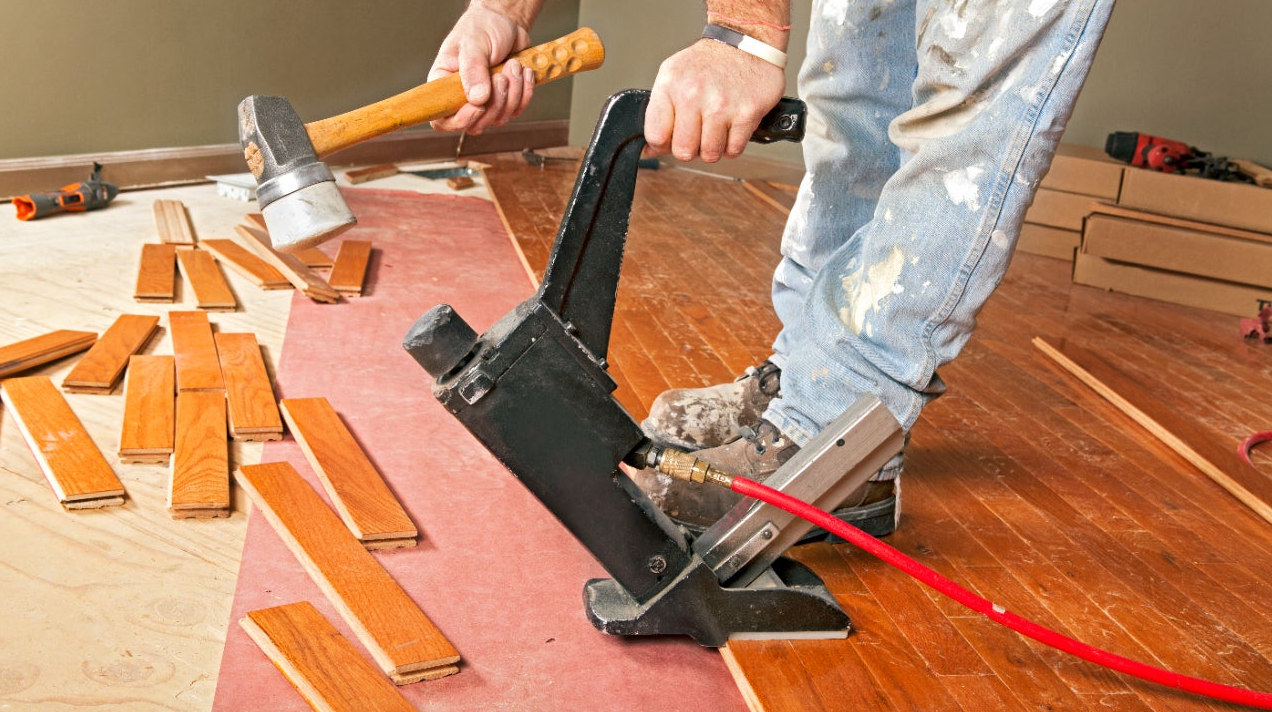
Acclimatization: I suggest letting hardwood sit in the room for 3–7 days before you install it. This helps it adjust to the local temperature and moisture. This step is important to prevent future warping or gaps.
Total Timeline: The whole hardwood process takes about 4–10 weeks. This time covers ordering, delivery, acclimatization, and any unexpected on-site delays.
Tile Flooring Timing

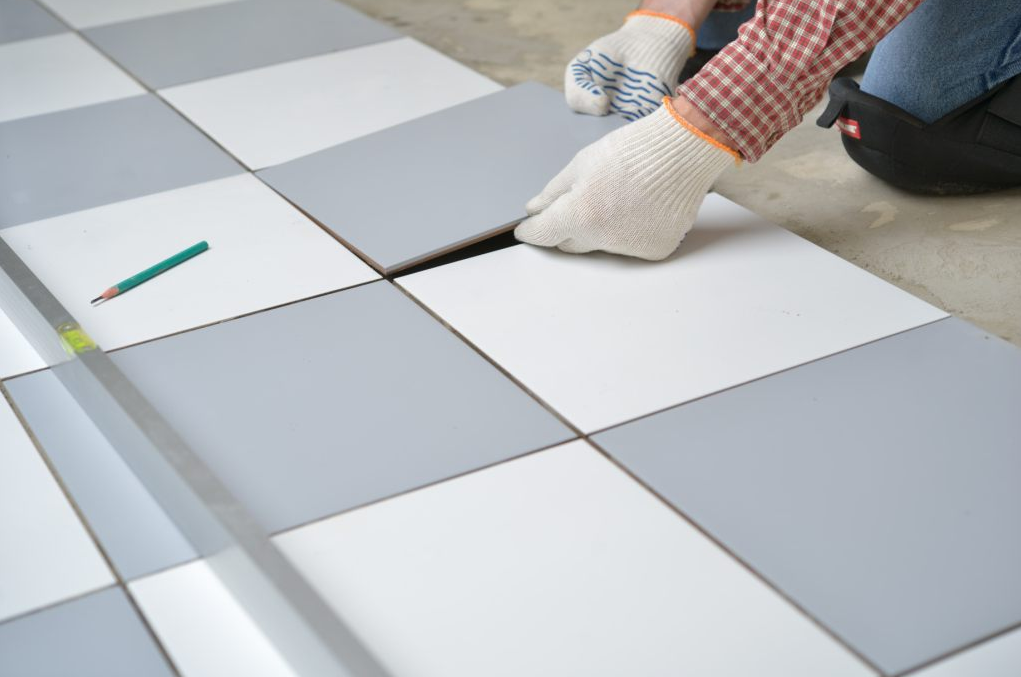
Acclimatization: Tiles do not need to acclimate. However, they need a surface that is level, dry, and clean.
Install Period: If your tile is in stock, the installation can start 2–3 days after delivery. A special order might add 1–2 weeks to your lead time.
Note: I advise against scheduling tile installation when there is a lot of construction dust. You should also wait until other trade workers are done. Doing this protects your grout and the tile’s finish.
Vinyl and Laminate Flooring Timing

Vinyl: I find that vinyl plank or sheet flooring can be installed within a few days after the space is prepared. Acclimatization might not be needed, but leveling and cleaning the subfloor is essential. If you’re not sure how to prep the subfloor, we’ve got a simple guide to help.
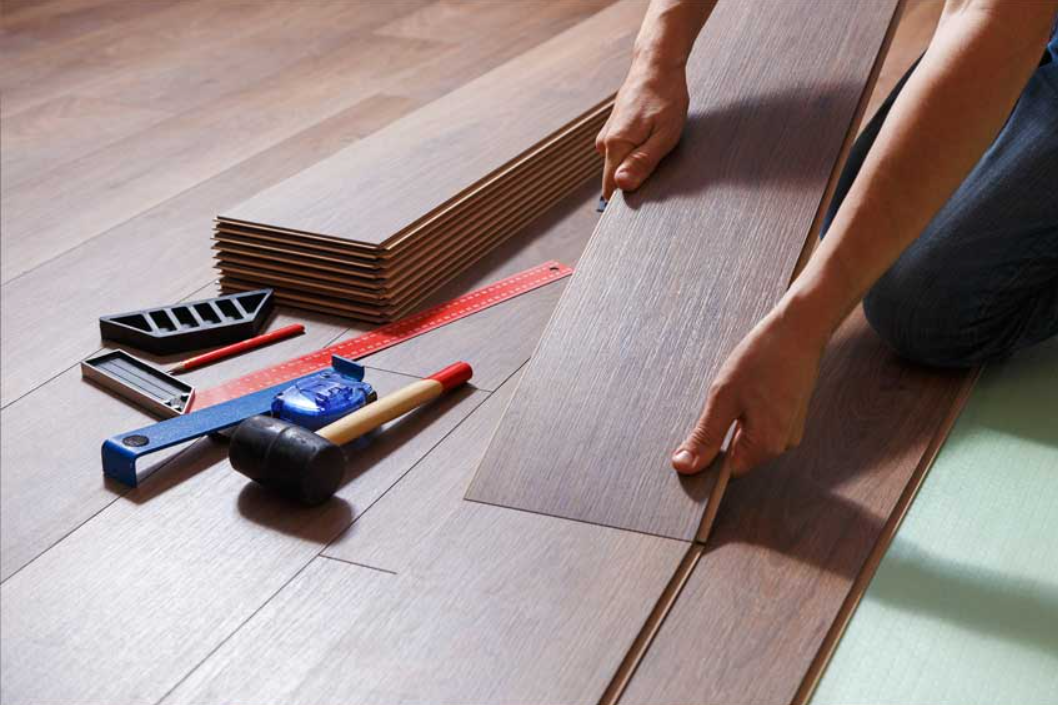
Laminate: Laminate is one of the fastest floors to install. As long as the subfloor is ready and the materials are there, the job can finish in just a couple of days.
Concrete and Engineered Flooring
Over New Concrete: You should not rush to install flooring over a new concrete slab. The concrete must cure completely, which takes 2–6 weeks, depending on the mix and weather. Installing any floor too soon can lead to problems like warping or the adhesive failing.
Key Timing Factors and Examples
For materials that are in stock, I expect installation to start 2–3 days after product delivery and the final prep work.
For any special orders, you should plan for 1–2 weeks from the order date until it is ready to install.
Subfloor inspection and any repairs often take 1–2 days. If you need to add moisture barriers or leveling compounds, they might need another 1–2 days to cure.
The final schedule can change based on the project size, a complex pattern, or other on-site surprises.
Material-Based Timing Summary Table
| Flooring Type | Acclimatization Needed | Install Time After Prep | Important Notes |
|---|---|---|---|
| Hardwood | Yes (3–7 days) | 4–10 weeks full process | The interior must be completely dry and finished |
| Tile | No | 2–3 days (stocked tile) | Requires a level subfloor; add time for special orders |
| Vinyl | Minimal | Few days | Good prep is key for a fast, lasting job |
| Laminate | No | Few days | Quick to install with in-stock materials |
| Over new concrete | N/A | 2–6 weeks (drying time) | Wait for the concrete slab to cure |
My best practice for all flooring projects: I suggest you wait until all messy work is finished. Then, install the flooring right before the final trim and fixtures are put in. This approach gives you a better result, has the lowest risk, and provides the best protection for your new floors.
